 EN


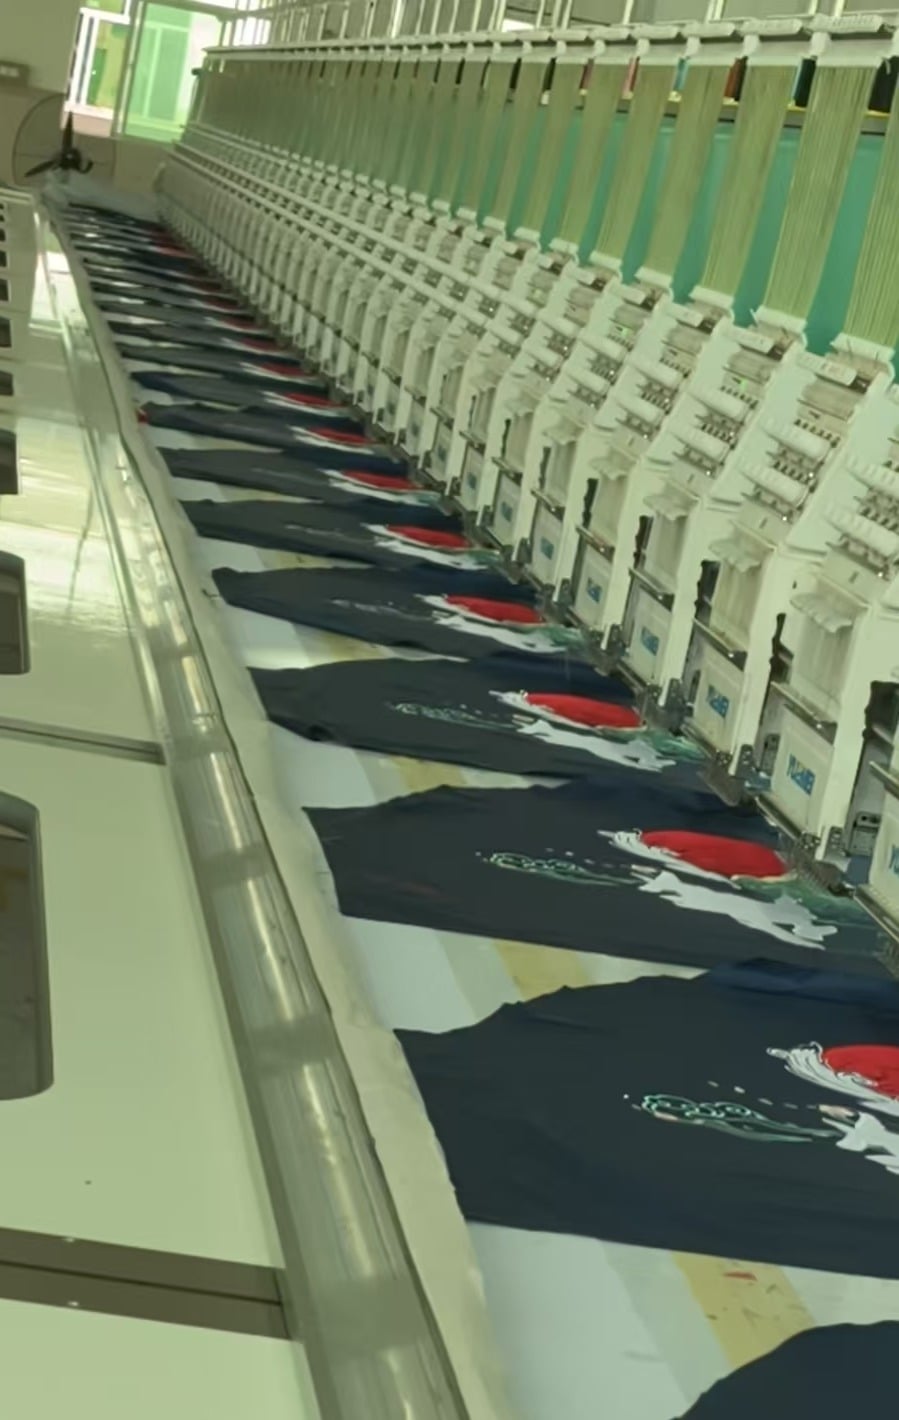
Custom Sportswear Embroidery: Five Approval Gates Before Bulk Production
A logo can look correct in a design file and still fail on a finished jersey. The reason is simple: custom sportswear embroidery passes through several physical decisions before it becomes a production decoration. Artwork has to be digitised, thread has to work on fabric, placement has to avoid seams, and the finished panel has to remain comfortable during movement.
This guide follows the order used in production. Each gate gives the buyer one clear embroidery approval decision before the factory moves to the next step. Using the same sequence for every colourway helps the team compare samples, prevent misunderstandings and release bulk production with a complete record.
Gate 1: Confirm the artwork before digitising
The first embroidery approval gate is the artwork review. Supply final vector artwork, confirm that fonts are outlined or licensed, and give the file a revision name that the factory can repeat exactly. A clear revision name prevents the wrong logo file from being used when an embroidery sample is made weeks later.
At this stage, ask the digitiser to identify details that may change during embroidery. Small lettering, narrow lines, tiny gaps and fine outlines often need adjustment because thread cannot reproduce print-level detail. In many cases, the correct embroidery approval decision is to enlarge text, open a gap or simplify a small internal shape before the stitch file is created.
The artwork review should also state the intended finished size. A logo that works at 90 mm wide may not work at 45 mm wide. Do not approve the appearance in principle only; approve the artwork at the actual embroidery size planned for the garment.
Gate 2: Review the embroidery sample on the right fabric
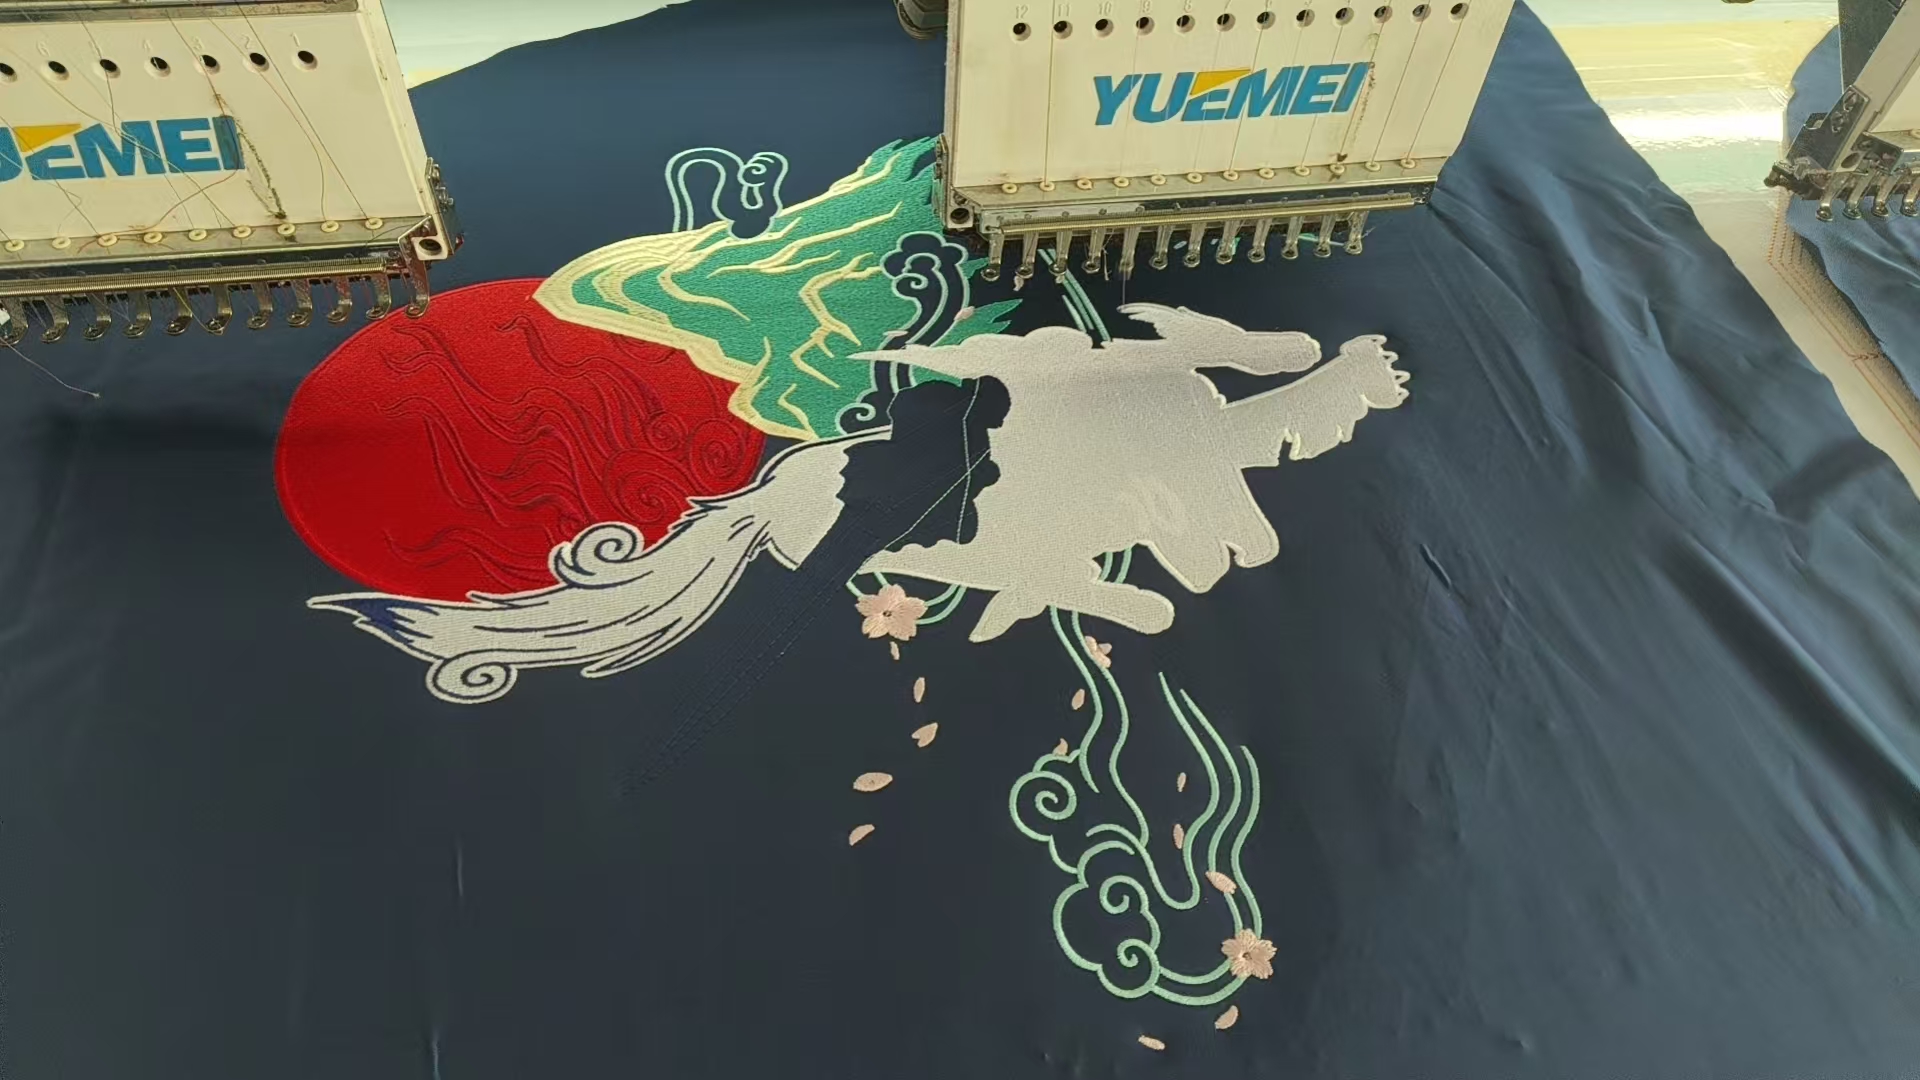
The second gate is the embroidery sample. Request an embroidery sample on the production fabric whenever possible. If the exact fabric is unavailable, use the closest match for colour, stretch, thickness and surface texture. A screen proof cannot show how thread coverage, fabric sheen or stretch will affect the result.
During the embroidery sample review, look first at visibility. Check whether light thread remains clear on a heather base, whether dark thread disappears on navy, and whether neighbouring shades still separate at normal viewing distance. View the embroidery sample in daylight and in the indoor lighting where the teamwear is likely to be worn.
Next, review coverage. An embroidery sample should have even fill with no obvious ground fabric showing through. If the fill is patchy, the embroidery density, underlay or thread selection may need adjustment. If the embroidery sample looks overly heavy, the thread weight or stitch density may be too high for the fabric.
Record exact thread codes, not colour names. “White” and “red” vary between thread ranges, but a thread code gives the factory a measurable reference. Include those codes in the embroidery approval record with a photo of the approved embroidery sample.
Gate 3: Measure embroidery placement from garment reference points
The third gate is embroidery placement. Placement should be checked on the pattern piece, cut panel or sewn garment, not only on a flat mock-up. A flat drawing does not show where a zip, pocket, raglan seam, placket or stretch line will sit after construction.
For every embroidery placement, use fixed reference points on the finished garment. State the distance down from the collar seam, the distance from the centre front, and the finished width and height of the decoration. This makes embroidery placement repeatable across production rather than dependent on a factory worker’s visual judgement.
During the embroidery placement review, check clearance from pocket openings, bar tacks and centre fastenings. Check whether the logo is too close to a princess seam, side seam or raglan seam. For cap embroidery placement, check the front-panel curve and centre seam. For performance jerseys, check whether the embroidery placement sits on a high-stretch area that may distort during wear.
A logo that appears centred on a hanger can shift when the player raises an arm or stretches the jersey over shoulder pads. If necessary, move the embroidery placement slightly away from a seam or stretch line. That small adjustment is usually easier and less expensive before the production panels are cut.
Gate 4: Inspect the sewn sample as a wearer would
The fourth gate uses a completed garment. This is the stage where embroidery approval moves beyond appearance and into comfort, flexibility and construction quality. Inspect the embroidery from the front, inspect the embroidery backing from the inside, then try the garment on.
From the front, check the outline, fill and corners. The embroidery should have clean edges, even coverage and no loose thread tails. Look at it from arm’s length first. If the logo does not read clearly at normal viewing distance, the embroidery sample may need a size, contrast or density adjustment.
From the inside, check the embroidery backing. The embroidery backing should support the stitches without leaving a hard, card-like area on a lightweight top. Too much embroidery backing or too much density can make the panel stiff, create rippling and reduce comfort. Too little embroidery backing can allow the fabric to pull, show through or pucker around the design.
When worn, the embroidery backing should not scratch, restrict movement or create a noticeable pressure point. Raise both arms, rotate the shoulders and stretch the decorated panel gently. If the design puckers, the embroidery placement, stitch plan or embroidery backing may need to change before the order is released.
Gate 5: Create one controlled embroidery approval record
The final gate is the production release. An embroidery approval is not complete until the approved version can be identified without relying on old messages or memory. Prepare a short embroidery approval sheet for each relevant garment style and colourway.
The sheet should include the final artwork file name, revision number, finished decoration size, thread codes, embroidery placement measurements, approved embroidery sample photos and embroidery backing details. Add notes for every accepted variation, such as simplified small lettering or a placement moved away from a seam.
For orders with multiple colourways, do not assume one embroidery approval applies to all garments. A thread colour that works on black may need another thread choice on white. A stable fleece may need different embroidery backing from a stretch training top. Use a separate embroidery sample and a separate embroidery approval status when the fabric or garment construction changes.
Before bulk production starts, ask the factory to read the specification back in its own words: file revision, logo size, thread codes, embroidery placement and embroidery backing. Compare the response with the release sheet. This final embroidery approval check catches missing details before they become repeated production errors.
Three warning signs before release
Screen-only approval
If there is no physical embroidery sample, no marked garment panel and no sewn sample, the order has not passed a complete embroidery approval process. Hold production until those checks are available.
Colour selected by name
If the factory describes the thread only as “blue” or “white”, the embroidery approval record is incomplete. Request the exact embroidery thread code and confirm it on the fabric.
Placement described as standard
“Standard left chest” is not a usable embroidery placement instruction. Write the measurement from named garment reference points and attach a sample photo.
Final takeaway
The safest route to bulk production is a five-gate embroidery approval process: finalise the artwork, review the embroidery sample, measure embroidery placement, inspect the sewn garment and freeze one documented embroidery approval record. This sequence protects the buyer from avoidable embroidery rework and gives the factory a clear instruction for every production run.
Table of Contents
- Custom Sportswear Embroidery: Five Approval Gates Before Bulk Production
- Gate 1: Confirm the artwork before digitising
- Gate 2: Review the embroidery sample on the right fabric
- Gate 3: Measure embroidery placement from garment reference points
- Gate 4: Inspect the sewn sample as a wearer would
- Gate 5: Create one controlled embroidery approval record
- Three warning signs before release
- Final takeaway

